Dust Collector Installation Checklist for Factory Upgrades
Most dust-collection problems introduced during an upgrade are installation-interface problems: an unplanned duct route, insufficient power, no space to change filters, a fan connected in the wrong location, or hoods added after the airflow calculation. Use the checklist before equipment reaches the site.
Before fabrication and shipment
- Confirm the final machine layout, hood locations, elevations and the number of simultaneous operating points.
- Approve the duct route, supports, roof/wall penetrations and fan discharge location.
- Verify electrical voltage/frequency, compressed-air supply, foundation loading and maintenance access.
- Agree on delivery sequence, lifting plan, assembly area and weather protection for outdoor equipment.
During installation
| Check | Acceptance point |
|---|---|
| Duct joints and branches | Sealed, supported and built to the approved branch sizes. |
| Hoods/enclosures | Located at the planned capture point without blocking operation. |
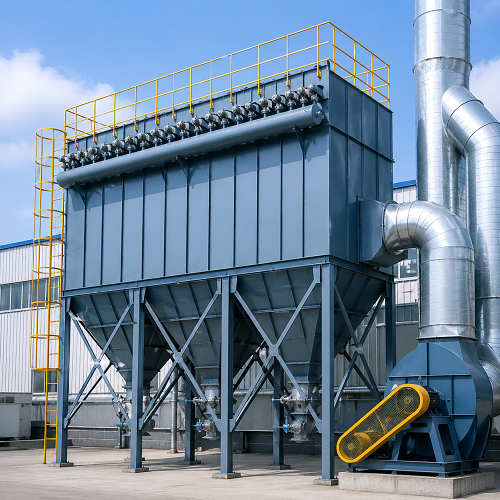
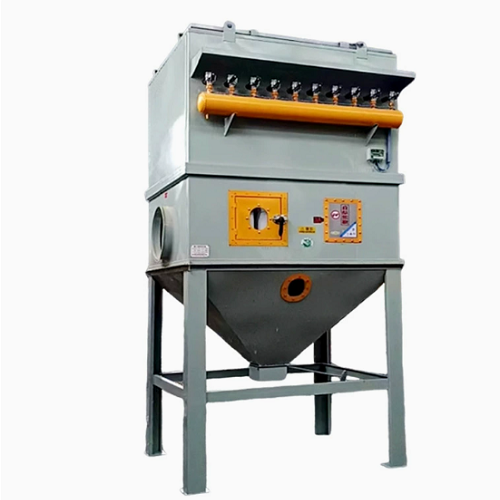
| Collector and hopper | Level, accessible and connected to a practical dust-discharge method. |
| Fan rotation and controls | Verified before production; interlocks and alarms tested. |
| Pulse cleaning | Correct air pressure and clean, dry supply where applicable. |
Commission under actual production
Start the system with the intended operating machines running. Check capture at each hood, record fan current and filter differential pressure, inspect for leakage and confirm that dust reaches the hopper. Balance branches where needed; do not sign off based only on an empty-system airflow reading.
Handover records
Keep the layout drawing, fan duty, electrical diagram, filter specification, cleaning settings, spare-parts list and baseline pressure readings. These records make later troubleshooting much faster when production or machine layout changes.